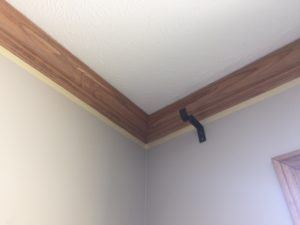
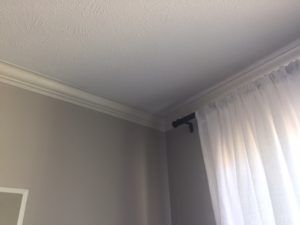
Painting crown molding can be challenging for several reasons. First among those is it’s height. As a minimum you are dealing with something eight feet high. In some cases it may be at ten feet or even much higher. That height poses the problem of being able to safely reach enough of the crown molding when up a ladder. When dealing with an eight foot height we will usually use a pick board (plank) between a couple six foot step ladders. This gives you a “runway” to work from and you can reach an area of ten linear feet or more.
One of the challenges of working off a pick board is remembering that you are on one. Sometimes you can get focused on your task at hand and forget that you are walking on something about a foot wide. Be aware of your surroundings and be safe!
When we are dealing with a taller height we asses the job conditions and may use pick boards off of extension ladders or use scaffolding. Scaffolding on wheels is a much safer way to go if the job allows it. As you work you can have someone move you around the room as needed.
When painting crown molding one of the common problems we encounter is the molding pulling away from the wall. This is usually because the wood has shrunk and pulled away from the wall. It can also twist and warp for the same reason. Something we also run into is many of the nails may not have hit studs in the wall so the crown molding is not adequately supported. Prior to any paint prep work, the molding needs to be re-nailed and the nails need to be puttied.
New wood needs to be primed. The type of trim will dictate the type of primer. If it is wood trim, is it open grain or closed? Is it a wood with a lot of tannin that will bleed through the primer? A safe bet is to use an Alkyd primer. If it has open grain, I suggest “scrubbing” in the primer by brush after spraying to help fill the grain. When the trim is pre-primed we will usually give it a coat of a high end latex primer like SealGrip.
After priming all the seams and joints will need to be caulked. It looks best if the molding is caulked to the ceiling as well. If this is a repaint it is important to check the existing caulk and cut out any that is bad or that is not adhering properly. Larger openings or cracks in the wood should be filled with a wood spackle or putty. The putty we like best is MH Ready Patch. This is a great product. We use it for filling nail holes, etc. and it dries very fast. It is important to remember to re-prime areas that get putty prior to the finish coat.
When painting crown molding you are either going to spray or brush the finish on. We prefer to spray. If spraying you will need to take the steps necessary to protect the surroundings from over-spray. The time spent getting ready to spray is time well spent. Once everything is ready to go, a coat of paint or multiple coats of paint can be applied in short order.
If brushing the finish on we will usually use a product like Penetrol or Floetrol to help level out the brush marks and slow down the dry time enough to prevent lap marks.


